Working in the terminal
On this page you find a small collection of useful shell commands when working in the terminal. You will also learn about shell variables, the command history and how to read manual pages in the terminal.
Your username (whoami)
Every user on the Linux system has a unique username. The whoami command will show your username.
Type whoami at the shell prompt.
whoamiPress enter to execute the command. Now the result will be printed on the next line in the terminal and a new shell prompt will appear on the line after that.
abcd1234
In the above example the username of the logged in user abcd234 is printed as
the result of the whoami command.
In all examples and instructions you should replace abcd1234 with your actual username.
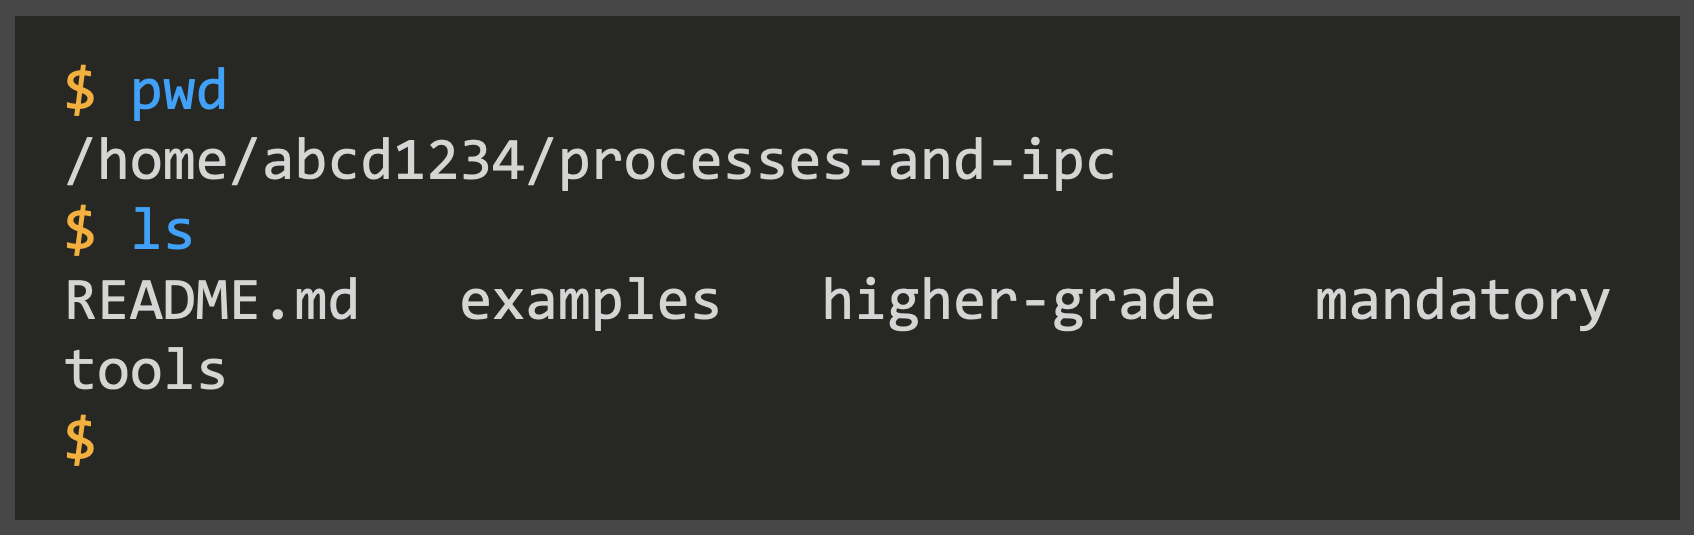
Print working directory (pwd)
The shell has a concept of a current working directory. The pwd (print working
directory) command prints the full path of the current working directory.
Type pwd at the shell prompt.
pwdPress enter to execute the command.
/home/abcd1234In the above example the current working directory /home/abcd1234 is printed
as the result of the pwd command.
Home directory
On the Linux system each user has a private home directory to where she/he can save files and create sub directories.
When you first log in to the Linux system the home directory will be used as the current working directory in the shell.
For user abcd1234 the full path to the home directory is /home/abcd1234.
List files and directories (ls)
To list the files and directories in the current working directory the ls command can be used. The name ls is a short form of list (files).
Type ls at the shell prompt.
lsPress enter to execute the ls command. You should see something similar to the
below as result but you might see other files and folders listed.
foo.txt Desktop public_htmlIn the above example the only content in the current working directory is the
text file foo.txt and two sub directories Desktop and public_html. You may see
many more directories and files.
Distinguish between files and folders (ls -F)
To get some more information about files and folder various options can be given
to the ls command. One useful option is -F that marks directories
with a trailing slash /.
ls -FYou should now see something similar to this.
foo.txt Desktop/ public_html/Visualize a directory as a tree
The tree command displays the contents of the current directory and
subdirectories as a tree structure.
treeThe output takes a graphical form which will resemble the following example:
.
├── README.md
├── one.txt
├── sub
│   └── three.txt
└── two.txt

1 directory, 4 files
In the above example, there are three files (README.md, one.txt and
two.txt) and one sub directory (sub) in the current working directory. In
the sub directory sub there is a single file three.txt.
You can provide tree with the path to a directory to visualize its content.
tree subNow, only subtree of the sub directory is shown.
sub/
└── three.txt

0 directories, 1 fileIf you run macOS and tree is not installed, use Homebrew to install tree.
brew install treeChange directory (cd)
The cd command navigates to a different folder. The name cd means change directory.
First print the current working directory.
pwdThis will show the path of the current working directory, for example.
/home/abcd1234To navigate to the Desktop folder, type cd Desktop at the shell prompt and press
enter.
cd DesktopPrint the current working directory to confirm.
pwdYou should now see your absolute path to your Desktop directory.
/home/abcd1234/DesktopNote how the current working directory changed from /home/abcd1234 to
/home/abcd1234/Desktop as the result of the cd Desktop command.
The directory above the current working directory can be referred to using ...
To navigate to the parent directory, type cd .. and press enter.
cd ..Now, execute the pwd command again.
pwdAnd, you are back in your home directory.
/home/abcd1234Note how the current working directory changed back from /home/abcd1234/Desktop
to /home/abcd1234 as the result of the cd .. command.
Print content of file to the terminal (cat)
The cat command can be used to print the content of a file to the terminal.
Assume you have the following file named foo.txt in the current working directory.
The first line of the file.

The third line. The second line is empty.
The last line of the file.
You can now print the content of foo.txt to the terminal using the cat command.
cat foo.txtNow, the content of the file foo.txt will be printed out in the terminal.
The first line of the file.

The third line. The second line is empty.
The last line of the file.
The name cat is a short form
of concatenate which means to
join together. If more than one argument is given to cat the contents of the
provided files will be joined together and printed to the terminal.
In the below example cat is used to concatenate the file foo.txt with itself.
cat foo.txt foo.txtThis will output the contents of the file foo.txt twice.
The first line of the file.

The third line. The second line is empty.
The last line of the file.
The first line of the file.

The third line. The second line is empty.
The last line of the file.
One useful option to the cat command is -n:
cat -n foo.txt, which prefixes each line with a line number.
     1	The first line of the file.
     2
     3	The third line. The second line is empty.
     4	The last line of the file.
Count words, lines and bytes (wc)
The wc command counts the number of words, lines and bytes.
wc foo.txtIn this example the file foo.txt has four lines of text with a total of 20 words and 98 bytes.
4 20 98In the above example we see that the file foo.txt contains for lines, 20 words and 98 bytes.
Filter (grep)
The grep command searches its input for a pattern and prints all lines in the
input that contains that pattern.
To search for the the string X in the input type grep X at the shell prompt
and press enter.
grep XNote that we don’t get back the shell prompt. This is because the grep command is still running waiting for input.
The grep command will now read input from the terminal and print back all
lines containing the character X.
Now type Hello and press enter.
HelloThere is no X in the string Hello and therefore grep will not print back the string Hello to the terminal.
Type Hello mr X and press enter and watch what happens.
Hello mr X
Hello mr X
Once you type Hello mr X the grep command will print Hello mr X right back to
the terminal since it contains a matching X.
Lets try a few more lines and observe what happens.
abc
abcXdef
abcXdef
xxx
xXx
xXx
Only lines containing a matching X will be echoed back to the terminal.
To tell grep that you are done (no more input), press Ctrl D (press and hold
down the control key and while you still hold down the control key press the
D key).
Press Ctrl D. Now grep terminates and you get back to the shell prompt.
To filter the lines in a file, the name of the file can be given together with a search pattern to grep.
Assume you have the file foo.txt in your current directory. Using cat:
cat foo.txt, prints the contents of the file to the terminal:
The first line of the file.

The third line. The second line is empty.
The last line of the file.
In the below example only lines containing of in the file foo.txt will be printed to the terminal.
grep of foo.txtThe above command will result in the following being printed to the terminal.
The first line of the file.
The last line of the file.
Filter the output of ls using grep (ls | grep)
The usefulness of grep might not obvious at this point. To make grep useful
we will combine grep with ls to filter the output of ls.
First we use ls to list all files and folders.
ls
foo.txt    Desktop    public_html
If we are only interested in files (and folders) with names ending in .txt we
can combine ls and grep to using the pipe character |.
ls | grep .txtIn this example, only the foo.txt files matches the .txt pattern.
foo.txt In the above example, first the ls command executes but it does not print its
result back to the terminal. Instead, the result of the ls command becomes the
input to the grep command. The only file or folder name containing .txt is
foo.txt.
Using the pipe character | the output of the command to the left becomes the
input to the command to the right. This is called piping the two commands
together.
Compressed file archives (tarballs)
It is often useful to compress multiple files and folders into a single file that can later be decompressed and expanded to get back the original files and folders. There exists many file formats for compressed file archives.
- Windows users commonly use the zip file format.
- Unix users commonly use the tar file format.
The name tarball is often used to refer to a tar archive file.
Download the following gziped compressed tar archive (tarball) to your home folder:
Verify that you have the tarball in your current working directory
From the terminal, make sure you have the downloaded tarball in the current
working directory. If you have many files in the current working directory you can
use ls together with grep to search for files with names matching .tar.
ls | grep .tarHopefully you will see the downloaded tar ball in the result.
archive.tar.gz In the above example the output of ls is piped together with grep to filter the
output of ls to only print any files (or folders) containing .tar. You
should see archive.tar.gz among the results.
Sneak peek inside a tarball (tar tf)
To see the contents of a tarball without extracting all the files you can use
tar with options t and f.
tar tf archive.tar.gzIn this example this is the content of the archive.tar.gz tar ball.
archive/
archive/large.txt
archive/small.txt
archive/sub_folder/
archive/sub_folder/info.txt
In the above example we see that the tarball archive.tar.gz contains the top
level directory archive with sub folder sub_folder. In the top level directory
archive there are two files (large.txt and small.txt) and in the sub folder
sub_folder there is a single file (small.txt).
Unpack a tarball (tar xvfz)
To unpack and extract the contents of a gzipped tarball we need to use the xvfz
options together with the tar command.
tar xvfz archive.tar.gzNow the name of each directory/file that is extracted is printed to the terminal.
x archive/
x archive/large.txt
x archive/small.txt
x archive/sub_folder/
x archive/sub_folder/info.txt
Now the tarball have been unpacked. Use ls to see what happened to the current
working directory.
ls | grep archiveNow you should have both the tar ball archive.tar.gz and the extracted
archive in your working directory.
archive
archive.tar.gz
In the above example we now have a new directory named archive inside the
current working directory.
Use cd to “step inside” the archive directory.
cd archiveNext, use ls -F to list the content in this directory.
ls -FThis is the content of the archive folder.
large.txt
small.txt
sub_folder/
Using the -R option ls will be run recursively stepping inside every sub-directory.
ls -RThe contents of the archive folder viewed recursively.
large.txt	small.txt	sub_folder

./sub_folder:
info.txt
In the result printed by ls -R a single period . means the current working
directory.
Print text back to the terminal (echo)
To print anything to the terminal simply type echo followed by the text you want
to print.
echo HelloThe text Hello now appears in the terminal.
HelloNote that Hello is echoed back to the terminal as the result of executing the
echo Hello command before the shell prints the next command prompt.
Shell variables
The shell can set and read variables. Sometimes it is useful to use the value of a built-in shell variable to make a command more generic and/or portable.
Remember that the command woami can be used to print your username.
whoamiIn this example your username is abcd1234.
abcd1234$USER
An alternative to woami is to use echo together with the shell variable
USER. In order for echo to know if you want to print the string "USER" or
the value of the shell variable USER shell variables must be prefixed with $
or enclosed within ${ }.
This:
echo Hello USER, results in:
Hello USERBut this:
echo Hello $USER, results in:
Hello abcd1234And this:
echo Hello ${USER}Results in:
Hello abcd1234$HOME
Another useful shell variable is HOME with the full path to the home directory
for the logged in user. You can use echo to check the value of the HOME variable.
echo $HOMEIn this example the result is:
/home/abcd1234Command history
Often you type and run a command in the terminal and later you wants to run the very same command again. To prevent you from having to type the same thing again the shell keeps a history of executed command. To navigate the history, simply press the up-arrow to move backwards in history and press the down-arrow to move forward in history.
![]()
![]()
Try the following command in the terminal:
pwd, resulting in:
/home/abcd1234And now this command:
whoami, resulting in:
abcd1234If you want to repeat the whoami command, simply press the up-arrow key once.
Instead if you wish to run the pwd command again, press the up-arrow key twice.
Reading manual pages (man)
For more information about command you can always refer to the corresponding
built in manual page. For example, to read the manual page for the ls command
simply type man ls and press enter at the shell prompt.
man lsThis will print the manual one page at a time to the terminal. To view the next page, press the space bar. To quit, press q.
To learn more about the build in manual pages read the manual page about the man command.
man manA summary of useful control keys when reading man pages.
| Key | Behavior |
|---|---|
| q | Quit and get back to the terminal |
| Space bar or F | Move forward one page |
| D | Move forward half a page |
| B | Move backwards one page |
| U | Move backwards half a page |
Learn more
To learn more about the Ubuntu Linux shell:
To learn more about tar file archives (tarballs):